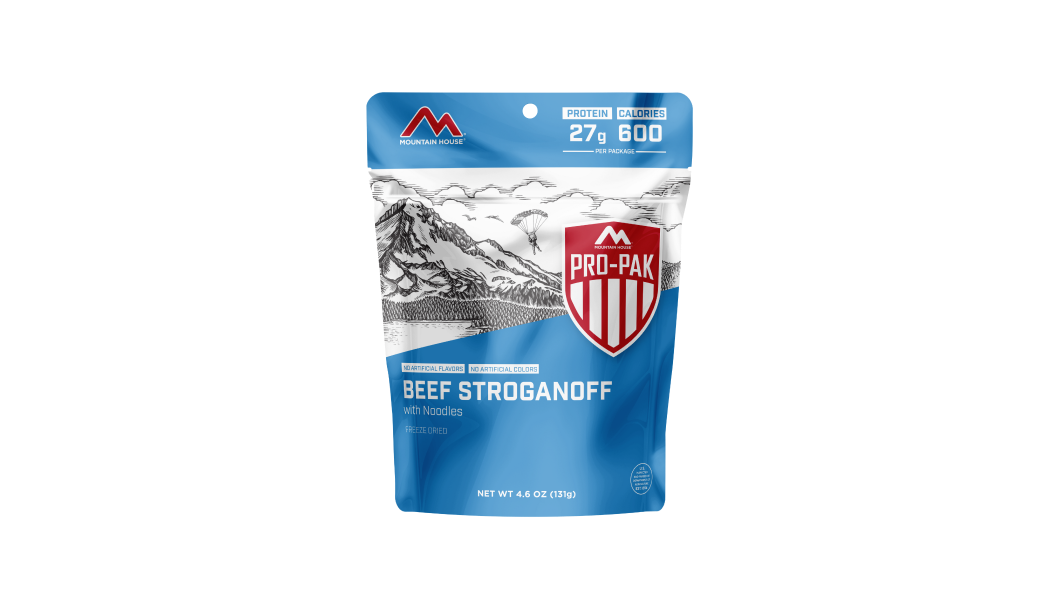
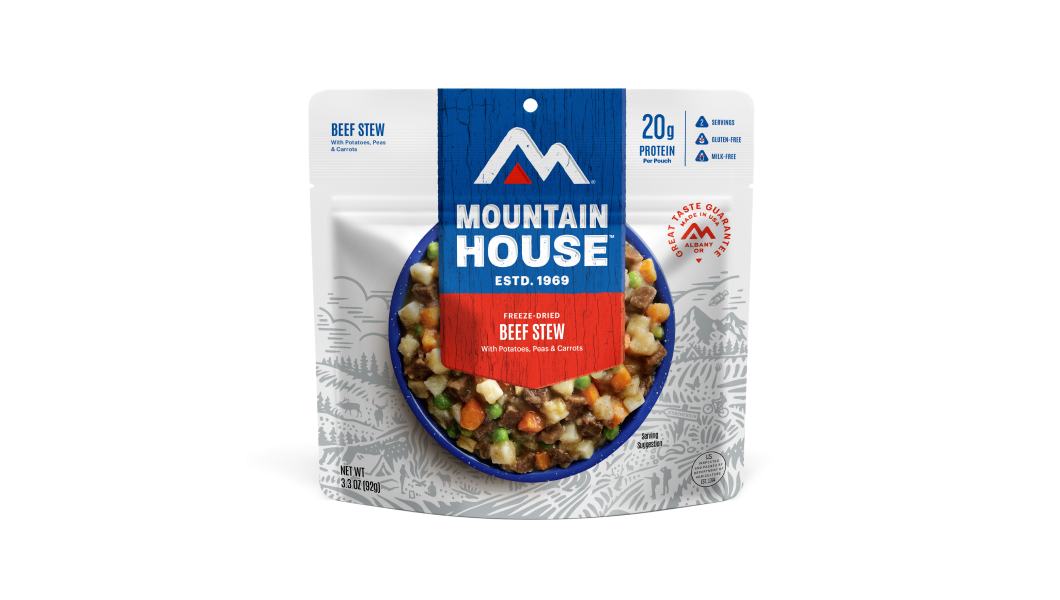
Inspired for an Adventure? Check out Beef Stroganoff - Pouch and Beef Stew - Pouch
Free Ground Shipping On All Orders


17 of the Greatest Achievements in Mountaineering History
People have been fascinated by and drawn to mountains for ages—and also terrified of them, not incidentally. The modern sport of mountaineering/mountain climbing kicked off in t...
Read more

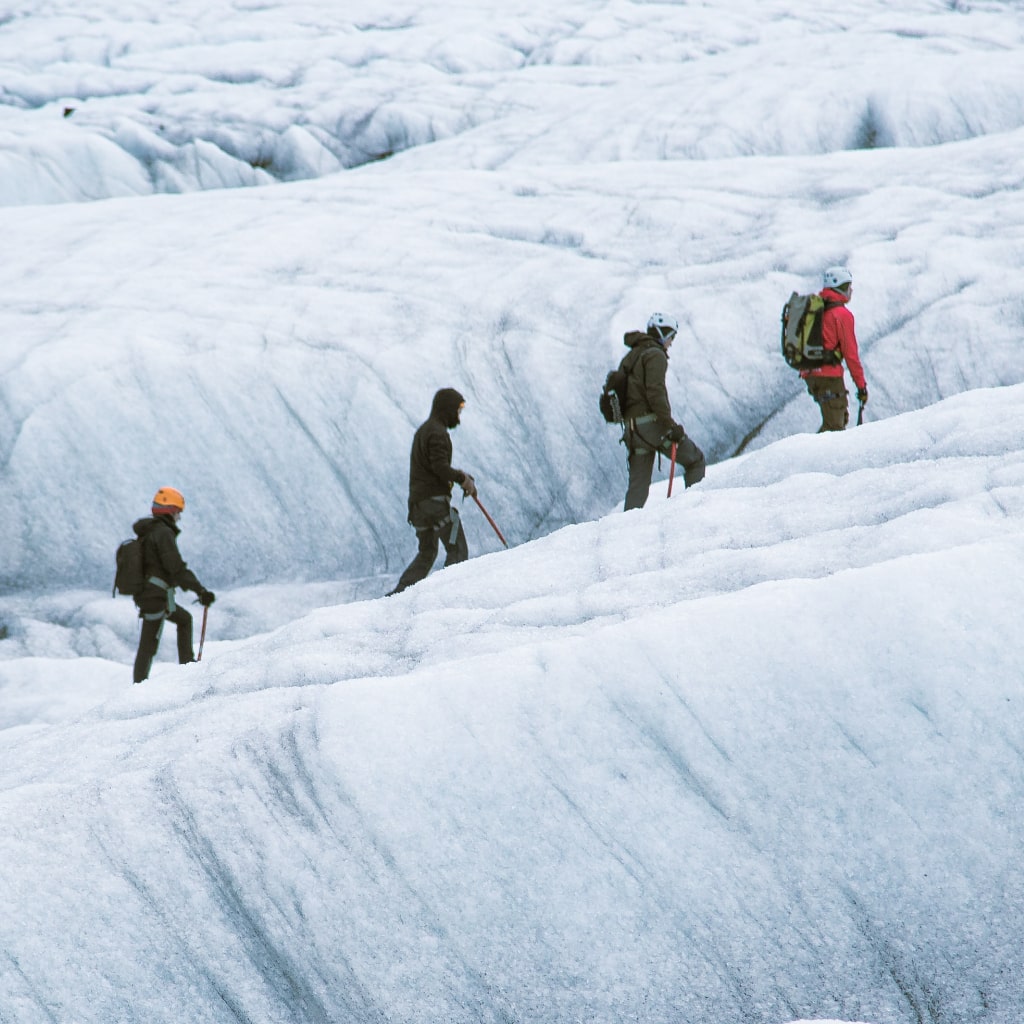
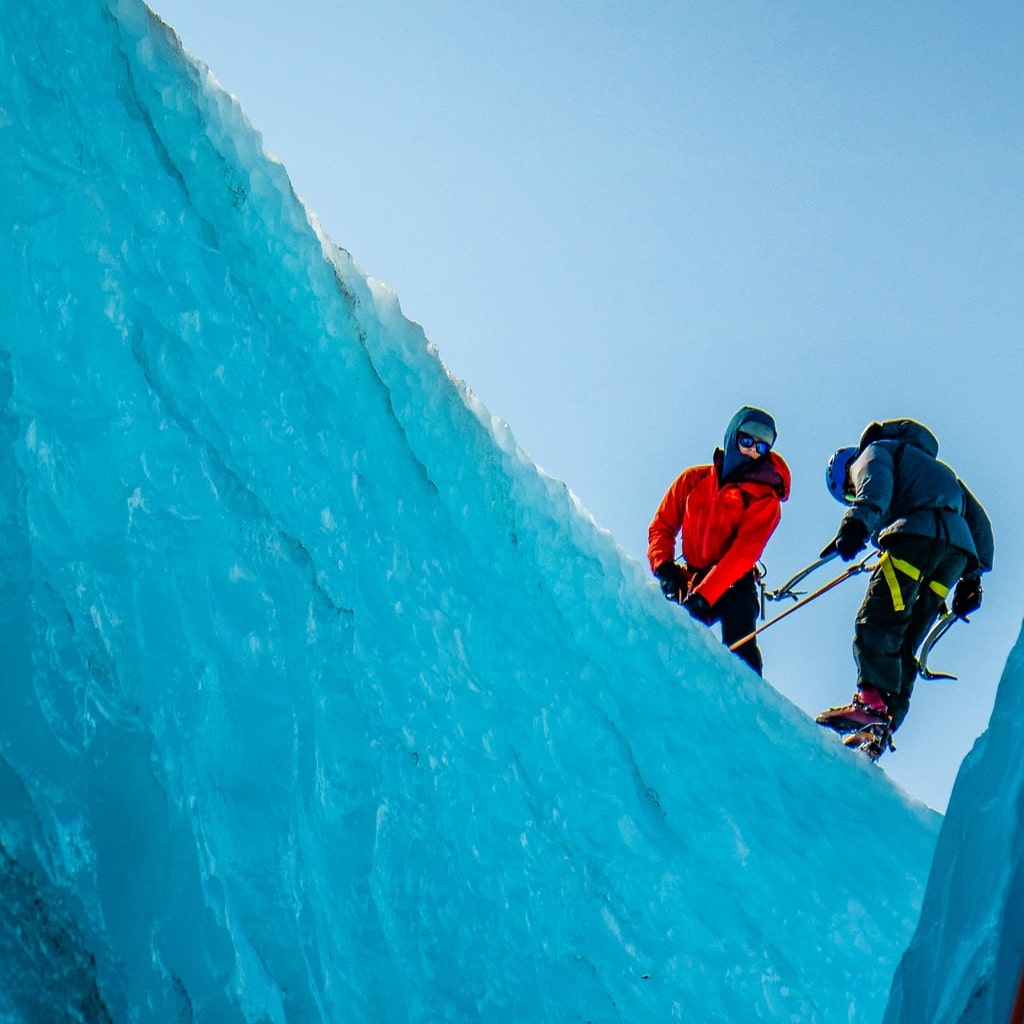
How to Choose Crampons & Use Them for Ice Climbing Expeditions
Crampons provide essential traction for a wide variety of pursuits in the hills and mountains, from general snow-walking to advanced, glazed-over vertical or overhanging techni...
Read more


Join the adventure


©2024 Mountain House — All Rights Reserved.