


Inspired for an Adventure? Check out Beef Stroganoff - Pouch and Beef Stew - Pouch
Free Ground Shipping On All Orders


Getting in Shape for Hiking Season
Maybe you’ve spent the winter regularly hitting the ski slopes, cross-country trails, or snowshoe loops; maybe you’ve even been summiting some iced-over mountaintops. If so, you’re likely well primed for the upcoming summer-through-fall peak hiking and backpacking season.
Perhaps, though—like oh so many of us—you haven’t been out playing in the snow quite as much as you would have liked, and challenging winter weather has mostly seen you just daydreaming about great hikes you want to tackle in a few months (and top off with our tasty backpacking food!). Perhaps you haven’t been hitting up the gym very often—or at all. In that case, a little physical conditioning is likely in order so that you can get in shape for backpacking and hit the ground running once the trails thaw out.
Here we’ll cover some basics of physical conditioning for backpacking, and direct you to some useful links with more detailed instructions for specific exercises and hiker workouts. Before we go any further, though, we’ll express the usual caveat: It’s best to consult with a physician before embarking on any new or intensified exercise regimen, and all of the below information should be calibrated for your own specific situation, physical abilities, and general level of health.
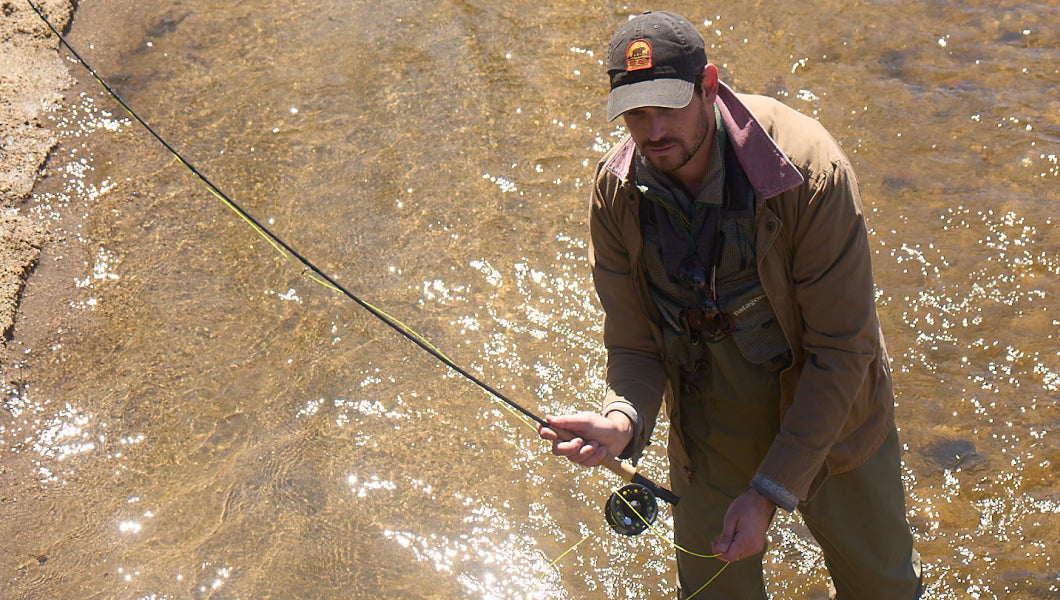
 photo credit: Holly Mandarich via Unsplash
Conditioning for Hiking & Backpacking
To get in shape for hiking season, you want to start early. Ease into physical conditioning several months ahead of your first significant backpacking trek, at the very least.
The best and easiest way to prepare for hours, days, and maybe weeks on the trail is, unsurprisingly, hiking—or, at least, walking. If your schedule and location allows, there’s nothing better than actually taking to a hiking trail on a regular basis to improve your strength and endurance. Try an easier, family-friendly hike once you’re on your way to enjoy a day out, weather permitting! But even walks around your neighborhood are beneficial—really beneficial—and if you can weave in some steep sidewalks or stairs as you expand your training, that’s all the better. Give yourself rest days in between, ultimately shooting for several multi-mile outings a week.
Begin with short and level walks, whether on trails or pavement. Gradually increase the distance and, if possible, the grade. Once you can go several miles without tiring, add a daypack or lightly loaded backpack. Just as you ramp up the distance and elevation you’re covering, you can little-by-little up your packweight. In Beyond Backpacking, legendary thru-hiker Ray Jardine recommends full water bottles as a handy way to tweak your load: If you’re struggling partway through your training walk, you can always dump (or drink) some of your lugged water.
Jogging, cycling, and trail-running can also obviously benefit your conditioning, though if you’re not a regular runner or cyclist you should be careful about incorporating them so you don’t injure yourself.
Seek Out Uneven Surfaces
Walking a paved path or sidewalk can definitely be part of your backpacking conditioning, but it goes without saying that such a surface doesn’t exactly mimic the typical substrates you’ll be running into in the backcountry. From gravel or snowy tracks to actual hiking trails, carry out as much of your training on uneven routes as possible so you’re strengthening your ankles and feet and improving your balance.
Speaking of balance, you can work on it at home every day by just standing on one foot and then the other for a few minutes when you get the chance. This little (and maybe slightly silly) routine can pay off down the line when it comes to crossing log bridges, talus fields, or steep hillsides.
 photo credit: Phil Coffman via Unsplash
Aerobic vs. Anaerobic Training
Your main focus in conditioning will be aerobic: oxygen-fueled cardiovascular exercise. On a hiking trek, though, you’ll run into situations demanding more intense, anaerobic exertion, and so you want to also prepare your muscles and tissues for these kinds of extreme, short-term physical activities. In a recent Backpacker article on hiker workouts, Rich Rife of Mountain Fitness Research suggests shooting for about 75 percent aerobic—“at a low enough intensity that you can do it while breathing through your nose exclusively”—and 25 percent anaerobic in your cardiovascular conditioning.
Good anaerobic conditioning exercises include sprints and fast-paced stair- or hill-climbing with packweight.
At Home or in the Gym
There’s a lot to be said for doing hiking conditioning out in the snow, sleet, rain, or wind: Becoming comfortable with trekking in the elements is an important part of getting ready for the wilderness. That said, you can do a great deal of valuable training at home or in the gym when the weather’s really lousy, or when you simply can’t spare the time for outdoor work. Treadmills, stationary bikes, ellipticals, and rowing machines are natural choices.
The physical demands of hiking and backpacking aren’t just about endurance: Muscular strength is a definite part of the equation, too. Incorporate strength-training such as weight-lifting and squats into your training regimen to boost power.
Examples of Super-Simple Home or Gym Exercises to Prepare for Hiking
We’ll provide links to more detailed explanations of some specific endurance, strength, and interval-training routines useful for hikers and backpackers. But we’ll get you started with a couple of very simple exercises to prepare for hiking that you can do at the gym or in the comfort of your own home.
- The Wall Shin Raise: Set your heels about six inches from a wall and lean your back into it. Lift the balls of your feet, pause for a beat, then lower your toes back to the floor. Do 10 to 20 in a set to strengthen your shin muscles, which needless to say are hard-working ones out on the trail.
- The Goblet Squat: Hold a dumbbell or kettle ball at your chest with your feet just slightly more than shoulder-width apart. Lower your body down as if to sit, keeping your upper body straight; stop with your thighs parallel to the ground, then lift back to a standing position. Do 10 to 20 reps. The Goblin Squat is an excellent way to strengthen your legs.
- The Clock Reach (via Backpacker): Bend your left knee slightly, then reach your right foot forward and tap its heel on the floor, being sure to keep your hips straight and your knee and ankle aligned. Return to your starting position. Then extend your right foot about 12 inches to the right and tap your heel. Return to the starting position, then reach your right foot behind you as far as you can without changing the angle of your left knee. Return to the starting position. Do 10 of these each with both feet. The Clock Reach strengthens your hips and quads to make those challenging downhills a bit easier.
- Step Ups & Heel Downs (via REI): Boost your balance and lower-body strength with sets of Step Ups and Heel Downs on a bench or stool a foot or two tall. For Step Ups, face the step and step up with one foot, raising yourself as tall as possible, then step off. Do 10 to 20 of these before switching to the other foot. To do the Heel Down, stand on the bench or stool and let one foot hang to the side. Flex the toes of that foot upward and lower your heel to just above the ground by dropping your hips as if to sit in a chair. Return to the starting position and repeat for 10 to 20 reps before you do the same with the other foot.
- The Shoulder (or Pull-up) Shrug: Hang from a pull-up bar with your shoulders flexed backwards—“imagine holding a pen between your shoulder blades,” says Backpacker—and then gently move them downward. Hold for two counts, then ease back. Do 10 reps at first, gradually increasing them week by week. The Shoulder Shrug can help you build upper-body strength for wielding your pack, churning along with your trekking poles, and scrambling.
The Enjoyment Element
We'll reference Jardine’s Beyond Backpacking once more for a very important point about conditioning exercises: They should be fun, not some dreaded chore. “Motivation is fueled by positive feedback; frustration by negative,” Jardine writes. “If your training is not fun, then you are extremely likely to abandon it.”
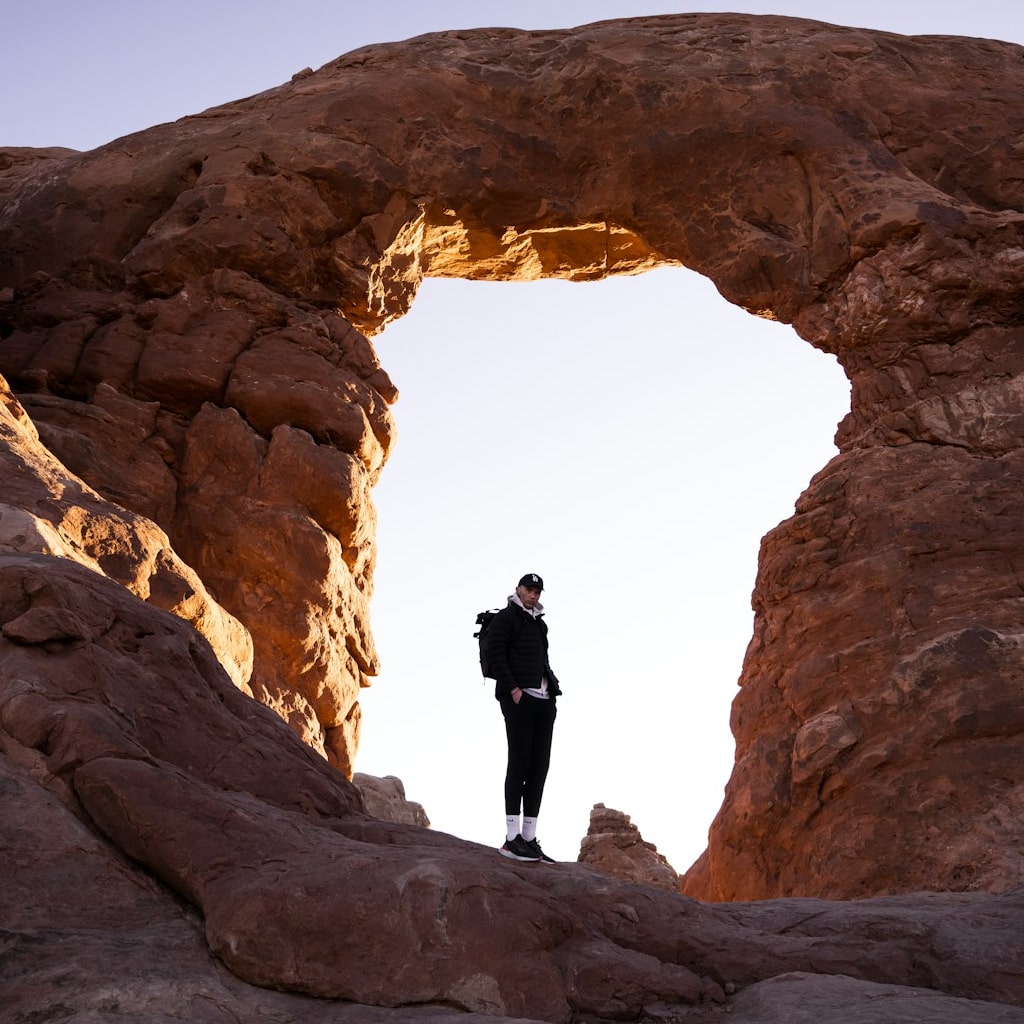
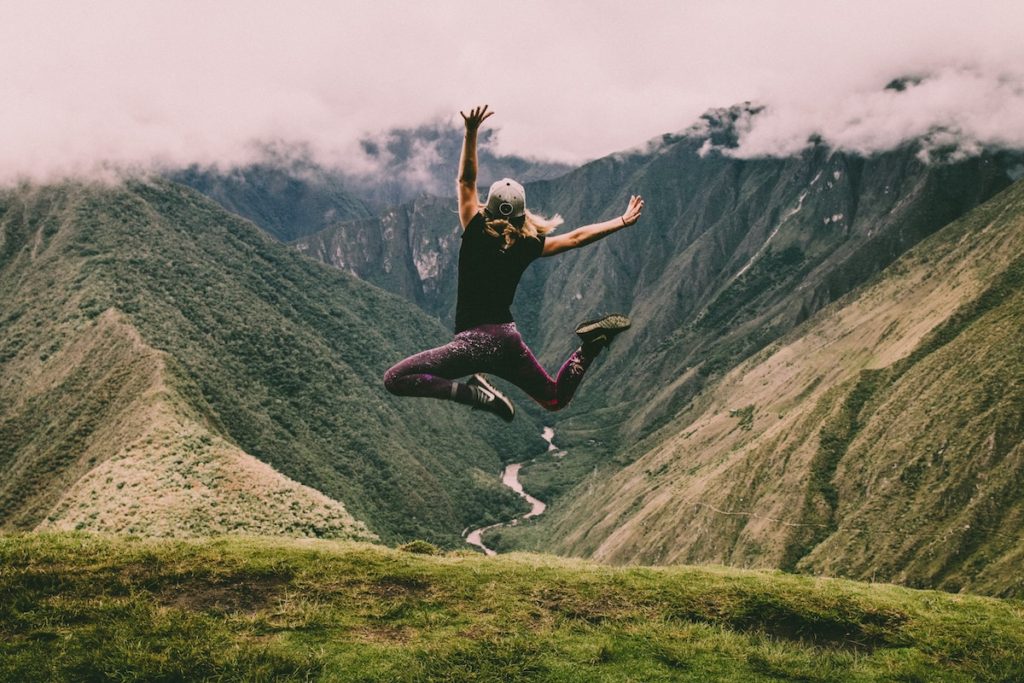 photo credit: Peter Conlan via Unsplash
Additional Resources
To learn more about strategies for hiking- and backpacking-focused conditioning, and to start scheming up your own training regimen, take a look at some of these awesome additional online resources:
- REI: “How to Train for Backpacking”
- Backpacker: “4 Exercises to Strengthen Your Core for Backpacking”
- Backpacker: “The Hike Forever Fitness Plan: How to Work Out”
- Outside: "The Alpinist Fitness Assessment"
- Outside: "This is What Happens to Your Body on a Thru-Hike"
American Alpine Institute: “Physical Conditioning for Mountaineering Expeditions”


Best Places to Go Winter Wildlife Watching in North America
Winter sure can bring some fierce weather: blizzards, ice storms, cold snaps, freezing rain—well, you know the drill. It also means prime time for snowsports, from snowboarding...
Read more

Exploring the Best Winter Desert Hiking in the Southwest United States
The American Southwest makes one of the best winter-hiking destinations in the country thanks to its combination of amenable climate, spectacular scenery, and truly vast public...
Read more


Join the adventure


©2024 Mountain House — All Rights Reserved.