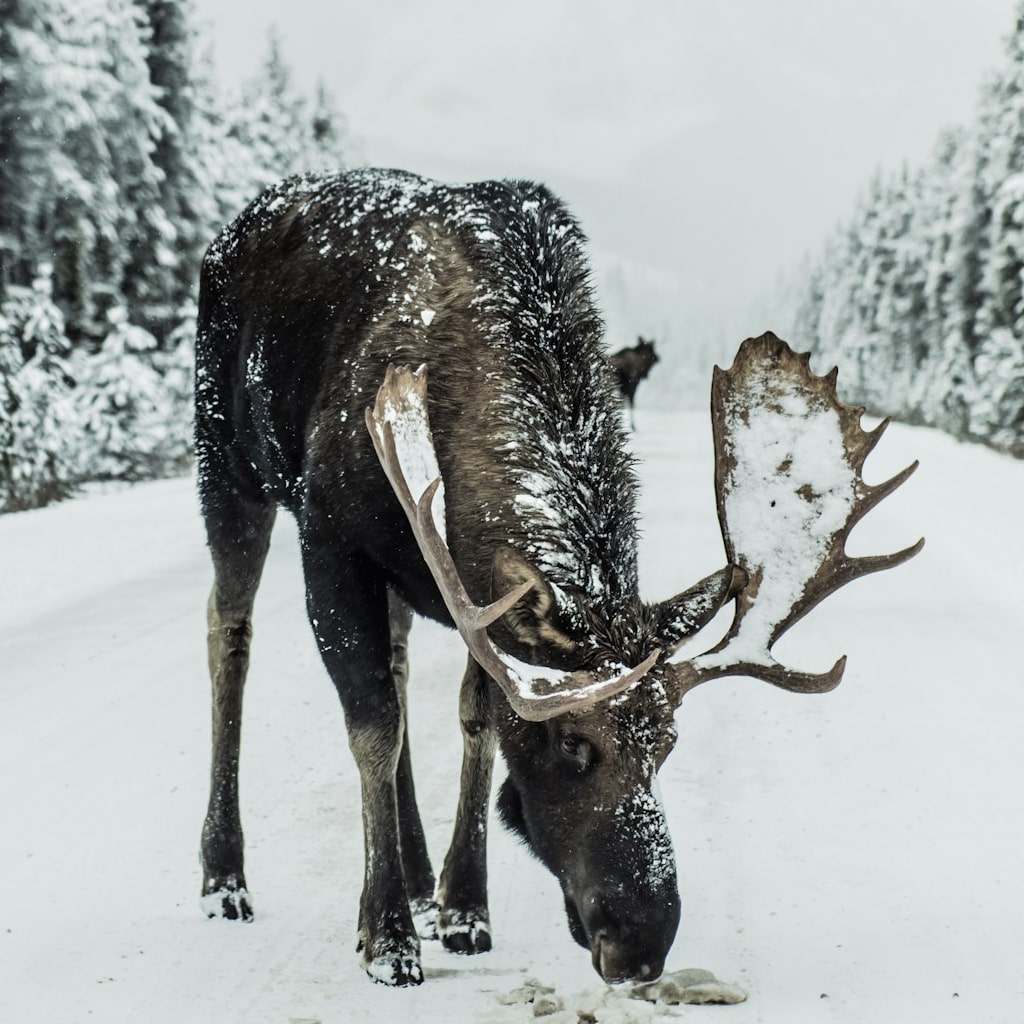
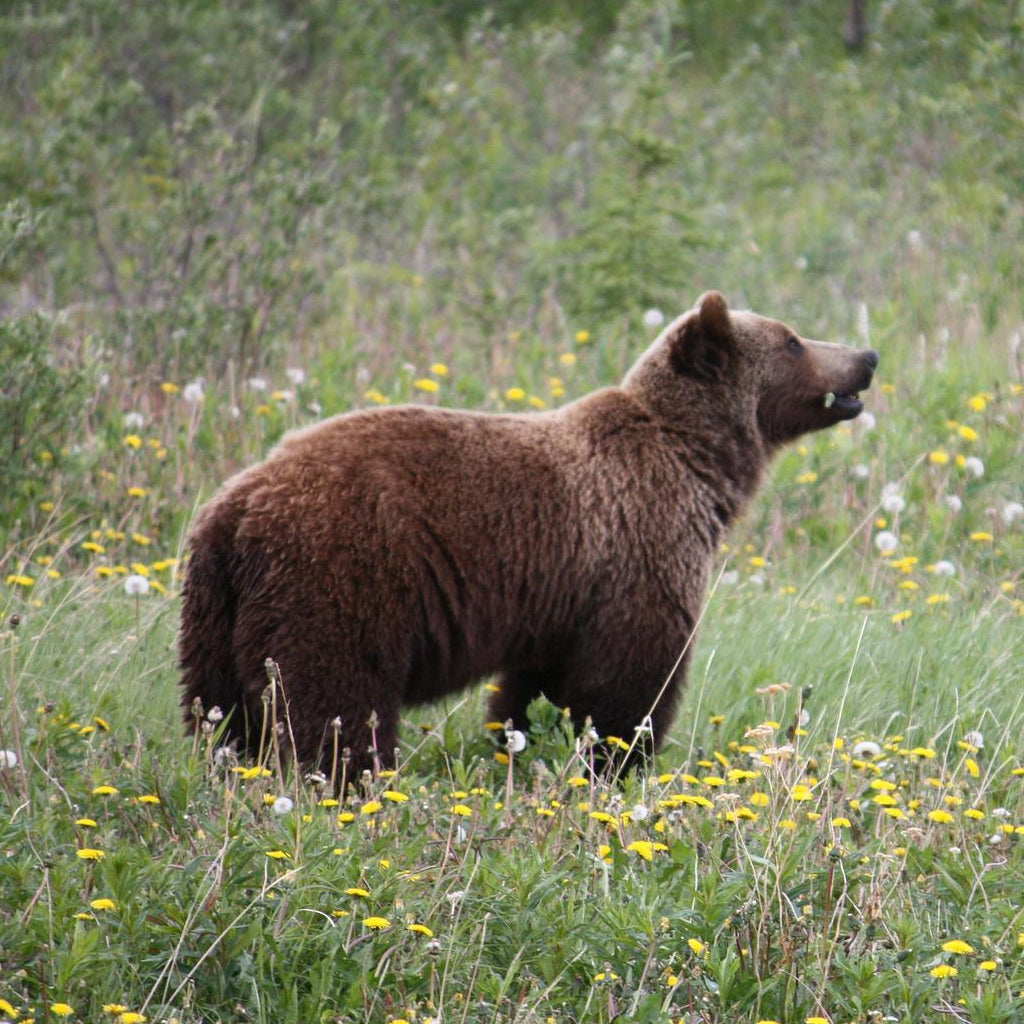
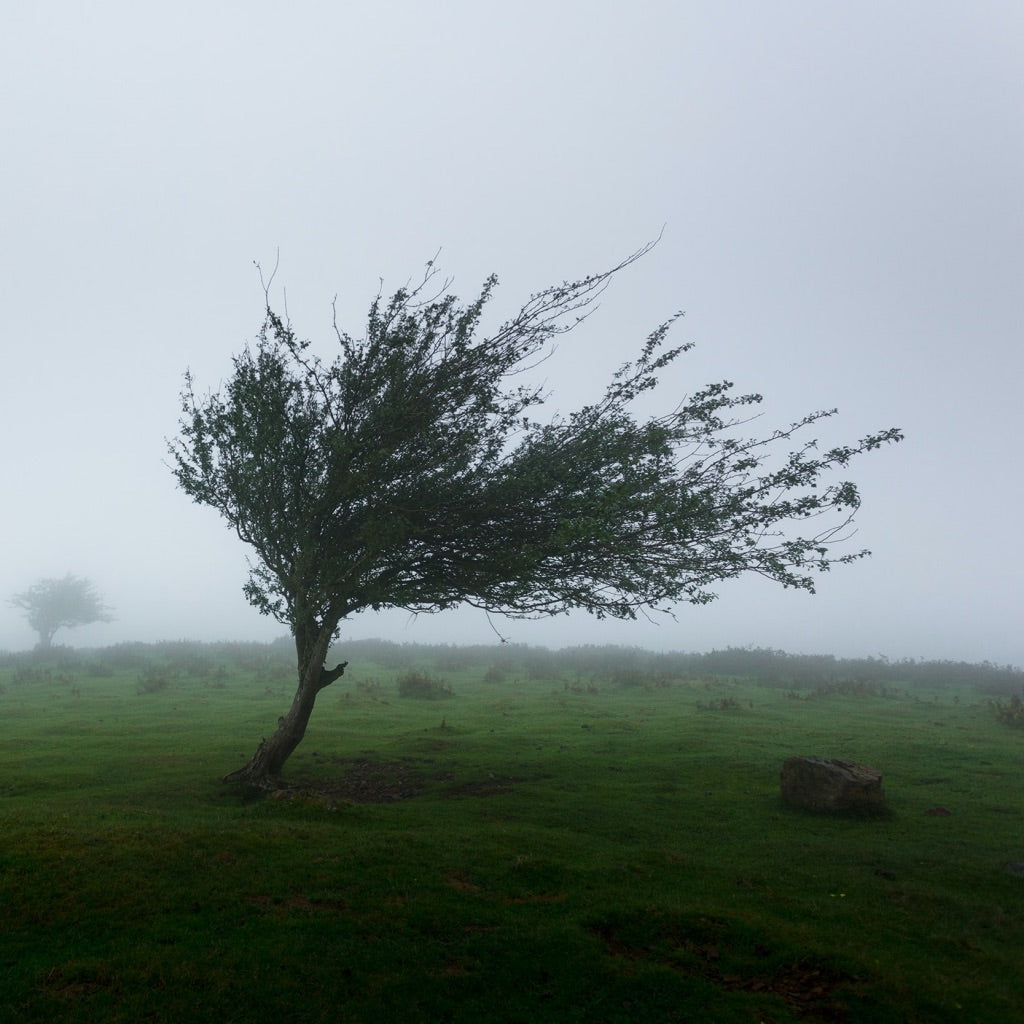
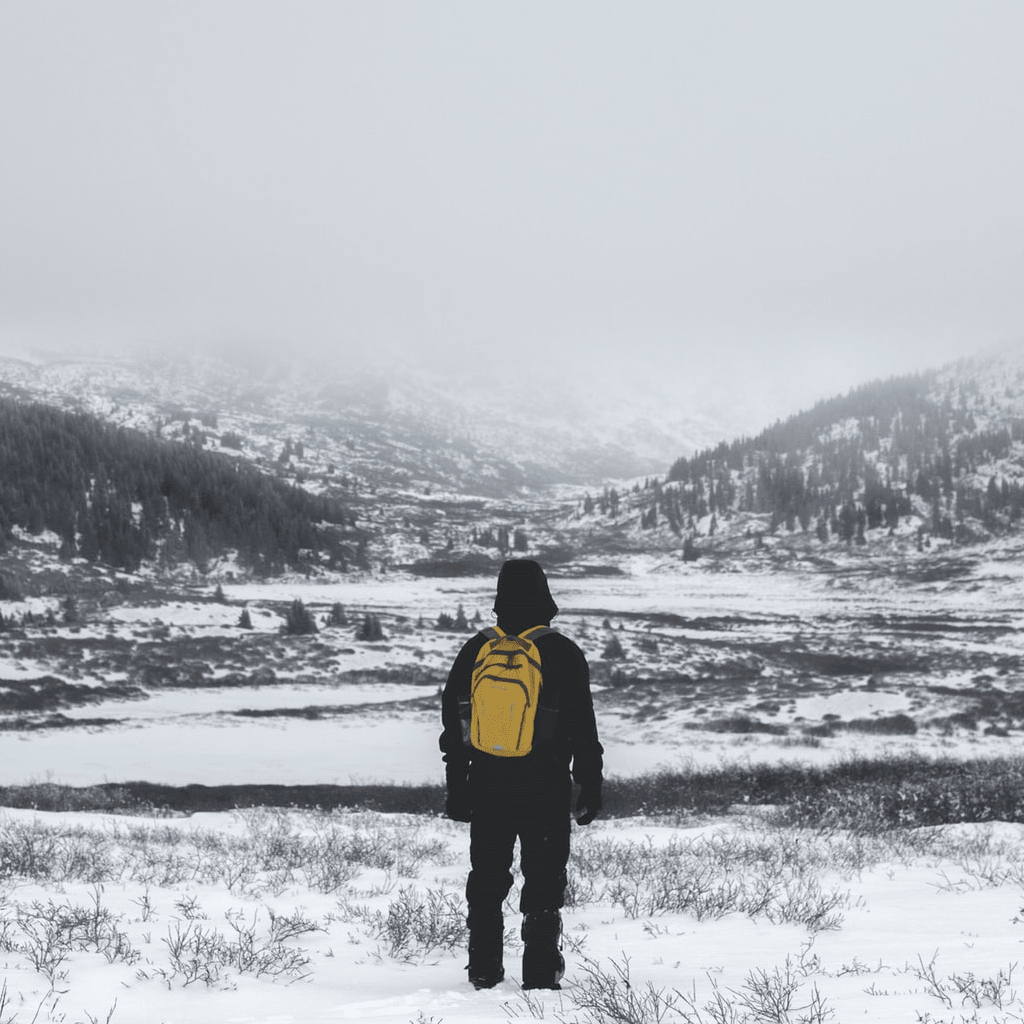
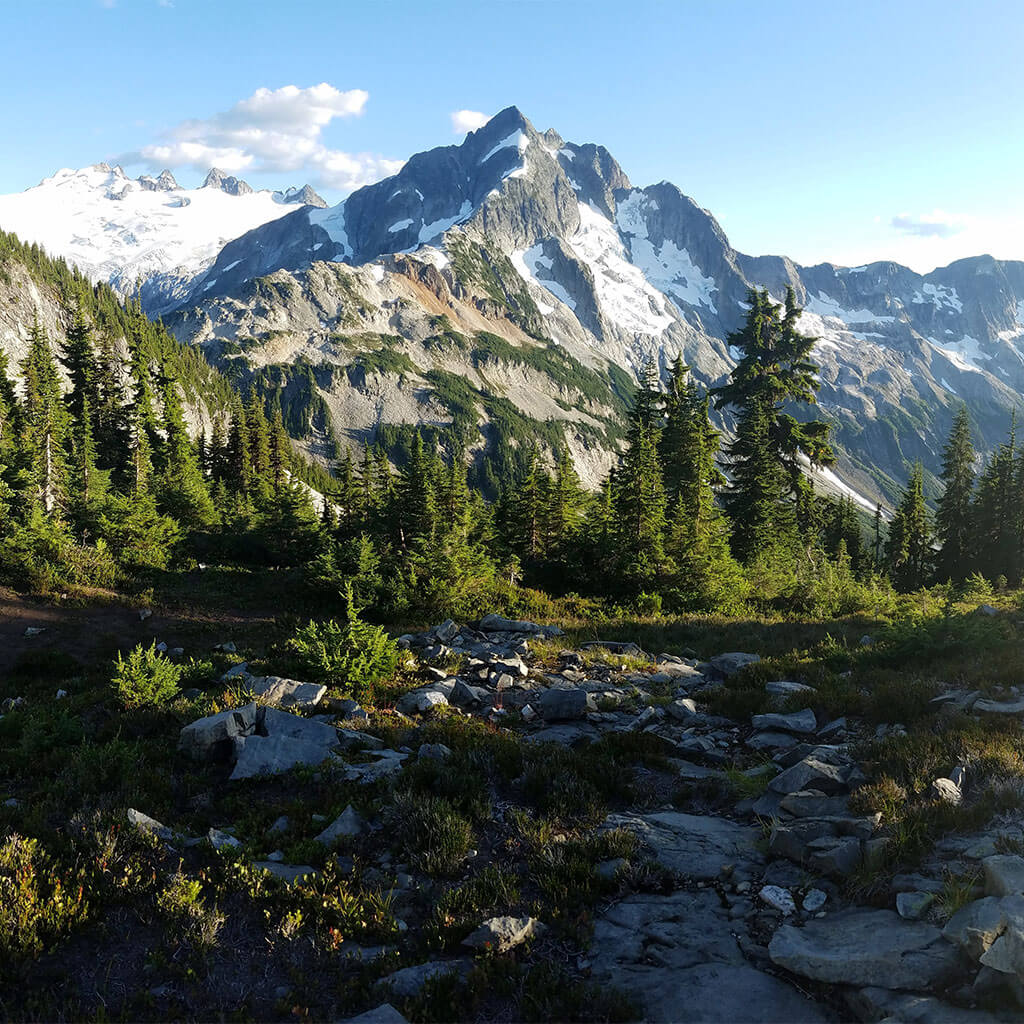
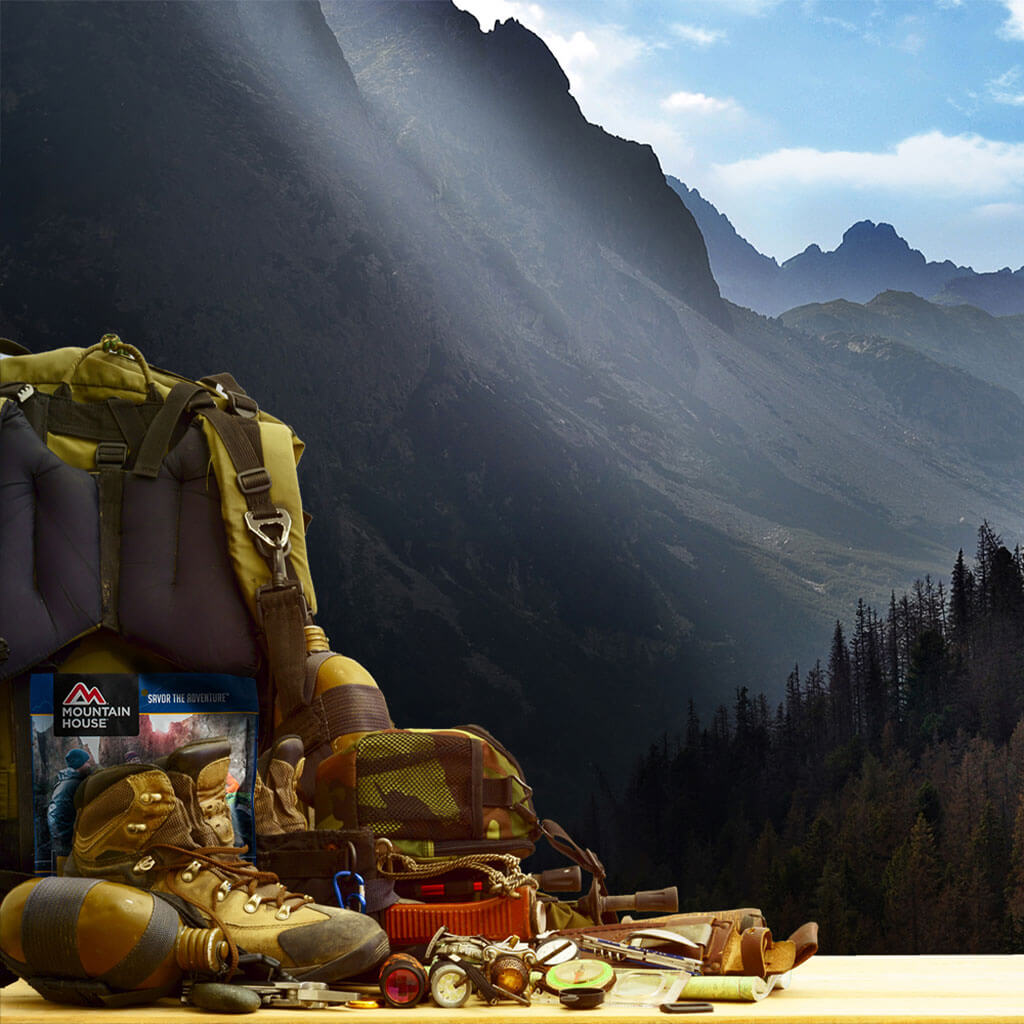
Ah, wilderness navigation: One of those outdoors skills that never goes out of style. Before setting foot in the backcountry, you need to know how to find your way. That should be obvious, but more than a few outdoorspeople play the odds, hiking, backpacking, hunting, and climbing without really knowing how to respond if they happen to go astray.
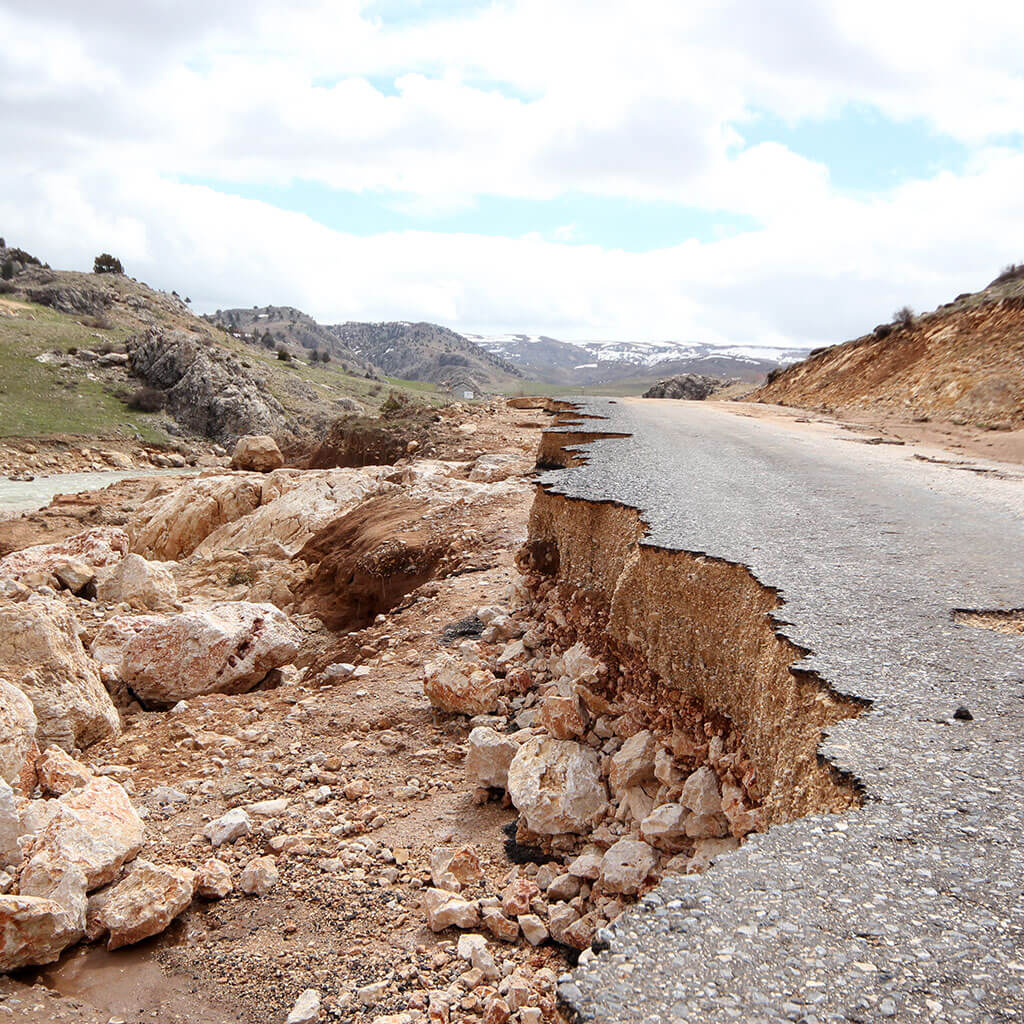
That’s all the more true these days with the ubiquity of handheld wayfinding gadgets and backcountry navigation apps. From smartphones to GPS units and satellite messengers, these devices are enormously useful, but they have their limits. One of the most widespread issues in modern outdoor recreation is people failing to bring the traditional tools of topographic map and compass—and/or lacking the knowledge of how to use them—when venturing into the wilds. And this is just as much of a “frontcountry” as a backcountry phenomenon, really: Search-and-rescue crews spend a lot of time responding to folks who’ve relied on Google Maps to navigate to a trailhead or remote campsite and gotten hopelessly lost or stranded among confusing, poorly maintained backroads and logging tracks.
Smartphones and GPS devices have limited battery life and can be prone to technical hiccups. Cell service can be minimal to nonexistent in remote or rugged country. And even seeing your current location pinpointed right down to exact coordinates may not help you much if you don’t know how to efficiently and safely navigate in the right direction.
We’ve posted a number of articles about hiking navigation skills here at the Mountain House blog, some of which we'll link to below. In this post, we’re going to round up 10 specific backcountry navigation tips that’ll flesh out your wilderness-wayfinding toolkit—and hopefully keep you all the more “on the map” when you’re out adventuring!
Tip #1: Prepare Your Body & Mind
Hikers, backpackers, mountaineers, hunters, and other outdoor users need a certain core level of physical fitness to do what they do. Being in shape before venturing into the wilderness is also its own way of improving your ability to navigate out there: At times you may have to detour around obstacles through more demanding landscapes—say, a whole forest full of blowdown, or a talus slope—and going off-course may sometimes require much more extensive mileage to cover than you’d intended.
Mental preparation is just as important. Staying calm and suppressing panic when you’re disoriented in the backcountry are vital, and going through visualization scenarios and doing your orienteering homework back home can pay big dividends during your trip. Knowledge is power when it comes to effective backcountry navigation, and thinking through different scenarios ahead of time helps you better respond to contingencies if they come up.
Tip #2: Orient Your Topo Map
Nowadays, backcountry navigation apps allow you to download the exact topographic map for the area you’re recreating in and locate yourself in real-time on it—a fantastic resource, without question. That said, you also want to bring paper maps as backup. The most recent USGS or analogous topo map of the proper scale for your area (depending on where you’re exploring and how much ground you’re covering, you may need more than one) is one of the most important hiking navigation tools you can bring along, helping you plan your route, identify your location, and steer your way out of trouble.
Many folks choose to consult their topo with it consistently oriented toward map north. That’s completely fine, but if you’re struggling with map-reading, consider orienting your map to the countryside, turning it so that it conforms to the landmarks you’re seeing in front of you. Although this requires you to constantly adjust map orientation, it does shake out to a more intuitive way of locating yourself and identifying visible landmarks for many users.
(Learn more about using a map for backcountry navigation)
Tip #3: Use a Compass
A good old-fashioned baseplate compass is your other best friend out there on (or off) the trail, still. Some of the forthcoming tips cover a few basic map-and-compass skills, but here’s a compass-specific trick for helping you navigate around obstacles—and get “un-lost.”
One clear benefit of using a compass, useful in recreational orienteering and wilderness survival alike, is the ability to hike in a straight line. In the same manner, a compass helps you make an exact right-angle turn.
This is handy when detouring around an unexpected obstacle, such as an impassable gulch or swamp, while following a bearing. Simply make a 90-degree turn, then count your steps as you walk a straight line to get around the barrier. You may make a number of right-angle turns in your attempt to pass to one side of the obstacle, but as long as you’re tallying your steps and sticking to those square-edge lines of travel, you can then follow an analogous, compensating route back to your desired course on the other side.
The same approach can be used when you don’t really know where you are, but suspect you may be able to strike a trail, road, river, or other anchoring feature. By sticking to straight-line forays and counting your steps, you can explore around your immediate surroundings while always confident you can navigate back to your “base camp” if you need to.
(We delve deeper into compass basics and map-and-compass work here.)
Tip #4: Follow Bearings
Bearings describe the angle of a line between two objects. A compass gives you the ability to measure bearings—whether from the landscape or from the map—in order to get from one place to another.
You can take a bearing and then follow it by holding your compass open and constantly checking it, but that’s inefficient for cross-country travel. Instead, when taking a bearing, locate (if possible) a conspicuous landmark that lies along it: a distinctive-looking tree, say, or a hilltop, or an outcrop. Then simply hike your way to that spot. When you’ve reached it, you can sight your compass along the desired bearing to find another landmark farther ahead on your direction of travel to navigate to. This method is made even more powerful by identifying an obvious landmark at your original location that you can then use for double-checking your course upon reaching that first intermediate landmark.
Tip #5: Aim Off
It can be difficult, to say the least, to exactly follow a straight-line bearing. If you’re trying to retrace your steps out in the backcountry—say, getting back to your car parked along a road—you can take a back bearing to follow, but if you’re off by just a few degrees (easy enough to do), you may come to the road and have no idea whether to turn right or left to get to your vehicle. “Aiming off,” which is also called “intentional offset,” is a practice for getting around this issue when you’ve got nice linear baseline features such as roads (or fences, or rivers, or straight-lying ridgelines).
To aim off, take your back bearing, then start hiking in that general direction but on a more extreme course. If your back bearing is 45 degrees, maybe head off on a 65-degree course. This way, when you hit that road, you’ll know you're to the right of your car and can head there accordingly.
Tip #6: Account for Declination
This is less of a “tip” and more of a must-do, at least in most parts of North America. Declination refers to the difference between true North (or geographic North)—the line pointing to the Earth’s North Pole—and magnetic North, which identifies the northern end of the planet’s magnetic field. To use a map and compass together, you have to account for declination, because the map’s aligned with true North while the compass reads magnetic North. If you don’t compensate for declination on most of the continent, you’ll be navigating your way what may be miles off-course.
Different compass models have different ways to adjust for declination, but it’s easy to do so based on your location. Remember that if you’re using your compass in a completely different geographic region, you’ll have to readjust before using it to navigate with a map.
Tip #7: Pack Necessary Gear
Along with your topo map(s), compass, GPS, smartphone, and whatever your primary navigation tools are, certain other pieces of equipment can make finding your way through the backcountry easier. A small ruler, for example, provides a useful straight-edge for tracing bearings on a map, including when you’re using triangulation to locate yourself.
An altimeter, meanwhile, which reveals your elevation, can be its own useful navigation tool when used with a topo map. If you’re not entirely sure where you are, check the elevation on your altimeter and then study the contour lines of your topo, cross-referenced against landmarks, to roughly estimate your current location. This can be all the more accurate when you’re following a bearing: Look where the contour line matching your elevation crosses that bearing, and you’ve got a pretty good sense of where you are.
Remember that an altimeter, which is essentially a barometer, is affected by atmospheric pressure, a swift rise or fall of which can affect the altimeter reading even if you aren’t ascending or descending in elevation. Regularly resetting your altimeter at positions of known elevation helps you get around this complication.
Tip #8: Leverage Technology
As we’ve hopefully already made clear, just because you should always use a paper topo and a compass as the unfailing foundation of your wilderness navigation doesn’t mean those more modern, computerized gadgets aren’t incredibly helpful. Using GPS devices, smartphone apps, satellite communicators, and the like in conjunction with paper map and compass gives you all the more wayfinding power.
We’ve got a post running down some of the top offline backcountry navigation apps—check it out!
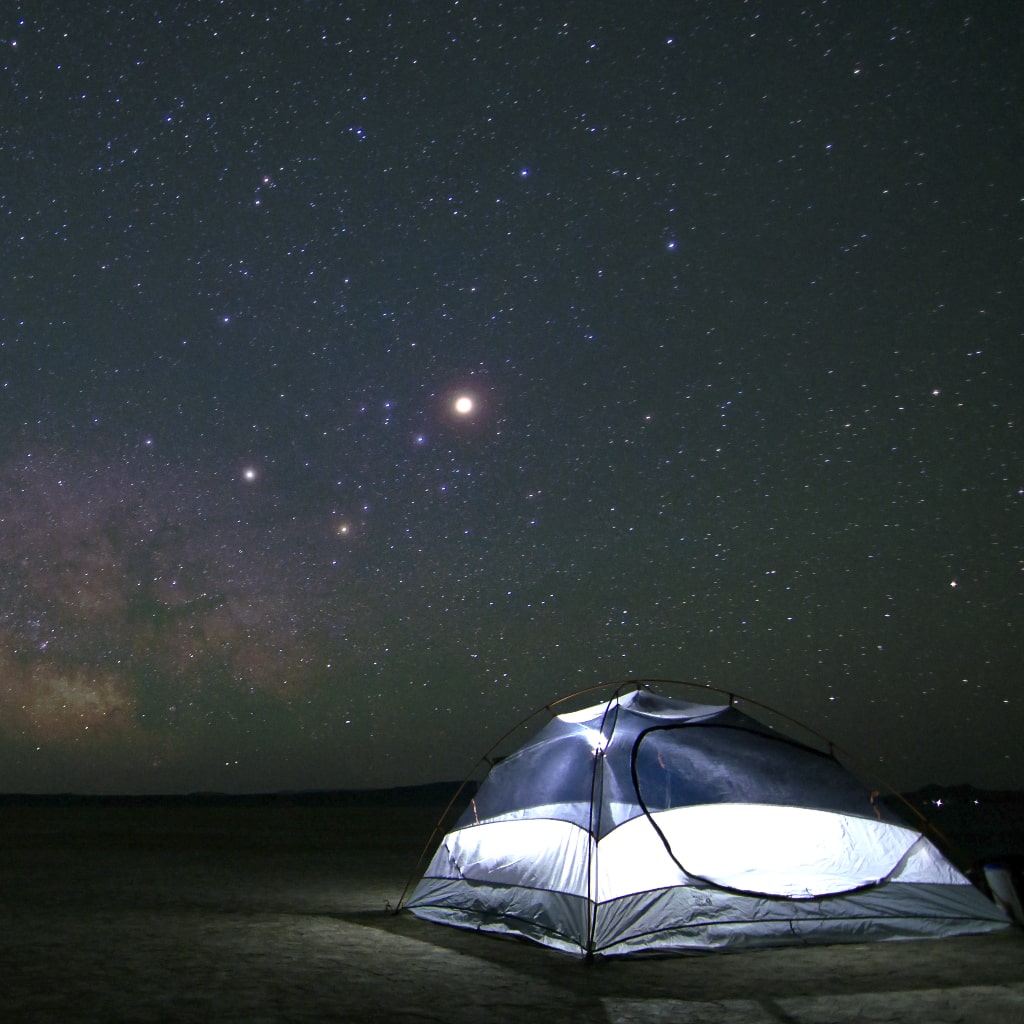
Tip #9: Read Natural Signs
The whole moss-only-grows-on-the-north-side-of-trees thing may be bogus, but there are indeed various natural clues you can use to reckon your location. Celestial bodies provide many of these clues.
Polaris, the North Star, is the obvious one for Northern Hemisphere outdoorspeople: Easy to find (especially by using the front end of the Big Dipper), it points unfailingly north. If you’re out and about in the Northern Hemisphere winter, you can identify west by watching where the leading of the three stars forming Orion’s belt buckle sets on the horizon.
You can gauge directions by marking the time of sunrise and sunset. If you’re noting those moments with a 24-hour notation, you can calculate the duration the Sun was above the horizon, then divide this by two to identify true solar noon. That’s when shadows point north and south.
Tip #10: S.T.O.P. If Lost
Despite your best efforts, you may well someday find yourself completely turned around or outright lost in the woods. If so, search-and-rescue experts stress the importance of the “S.T.O.P.” approach instead of the panicked running around and bashing about in the brush many people are inclined to do—usually a sure bet for getting more lost than ever.
Here’s the S.T.O.P. breakdown:
-
S—“Stop.” If you notice you’re lost, don’t keep on tramping about trying to find your way—stop, sit down, and assess the situation as calmly as possible.
-
T—“Think.” Try to remember when you last had an idea of where you were, when you last recognized a landmark, when you last pegged yourself on the map, and anything else you’ve recently observed that might give you a clue as to your location.
-
O—“Observe.” Evaluate your surroundings to see if you can square landmarks with your map, identify high points that might offer a better view, locate water sources and good areas to take shelter if need be, and anything else that could help you. Also consider how much daylight you have left and whether the weather looks to be threatening.
-
P—“Plan.” Decide whether to stay put, which is usually the best bet, or—if what you’ve remembered and/or observed convinces you that you’ve got a good shot of finding the trail again—try to navigate yourself back on the map. (The compass-course/counting-steps approach we described above can come in handy if you want to explore your surroundings while retaining the ability to get exactly back to the spot where you realized you were off-track.)
Learn more about what to do if you get lost in this previous Mountain House post!
Other Things to Consider
Think carefully before deciding to hike at night in the backcountry. Sometimes a nice, fat full moon makes this totally feasible for experienced hikers; sometimes bad weather and other emergency situations altogether demand it. But overall you’ve got a much better chance of getting injured or going astray moving around in the darkness.
Remember to always share your outdoor itinerary with folks back home. If you fail to touch base on the heels of your outing as planned, those people can alert authorities and direct them to your general vicinity.
Navigate Your Way to Mountain House Deliciousness
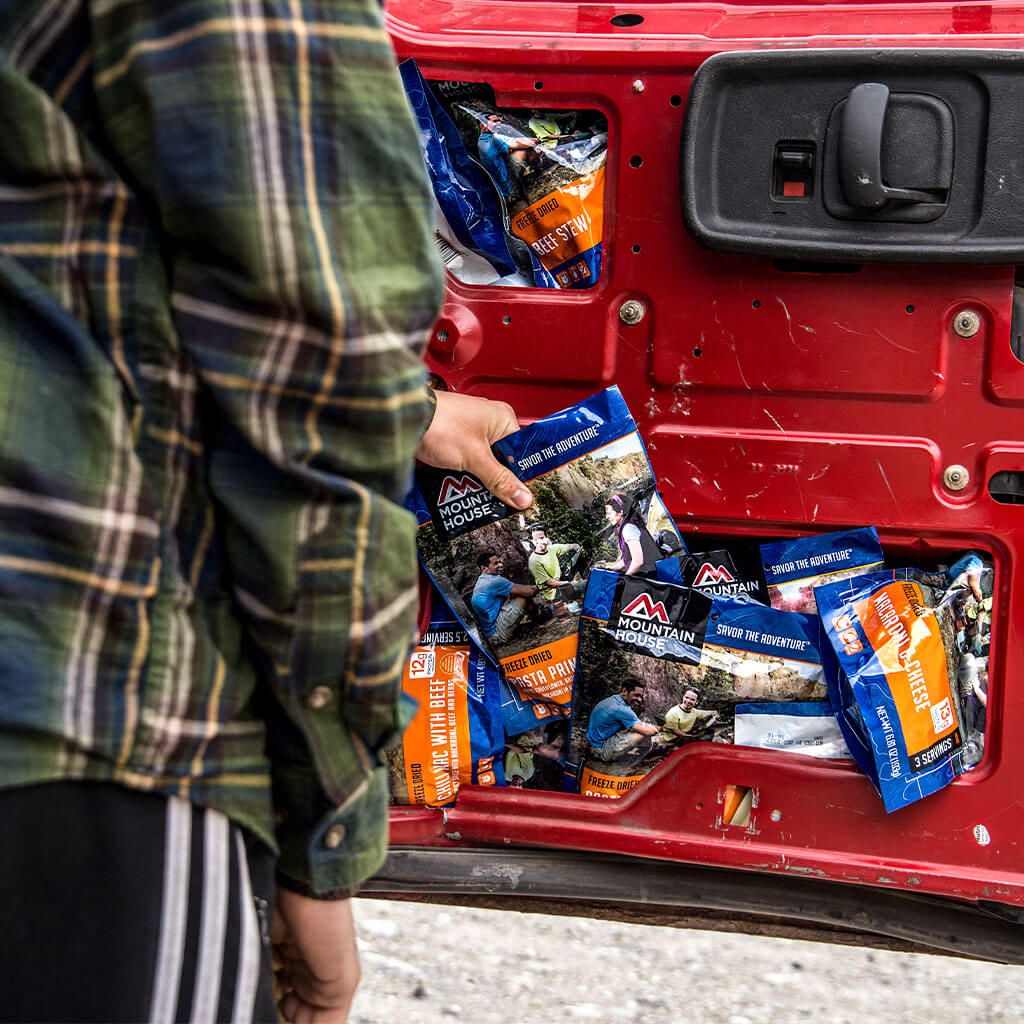
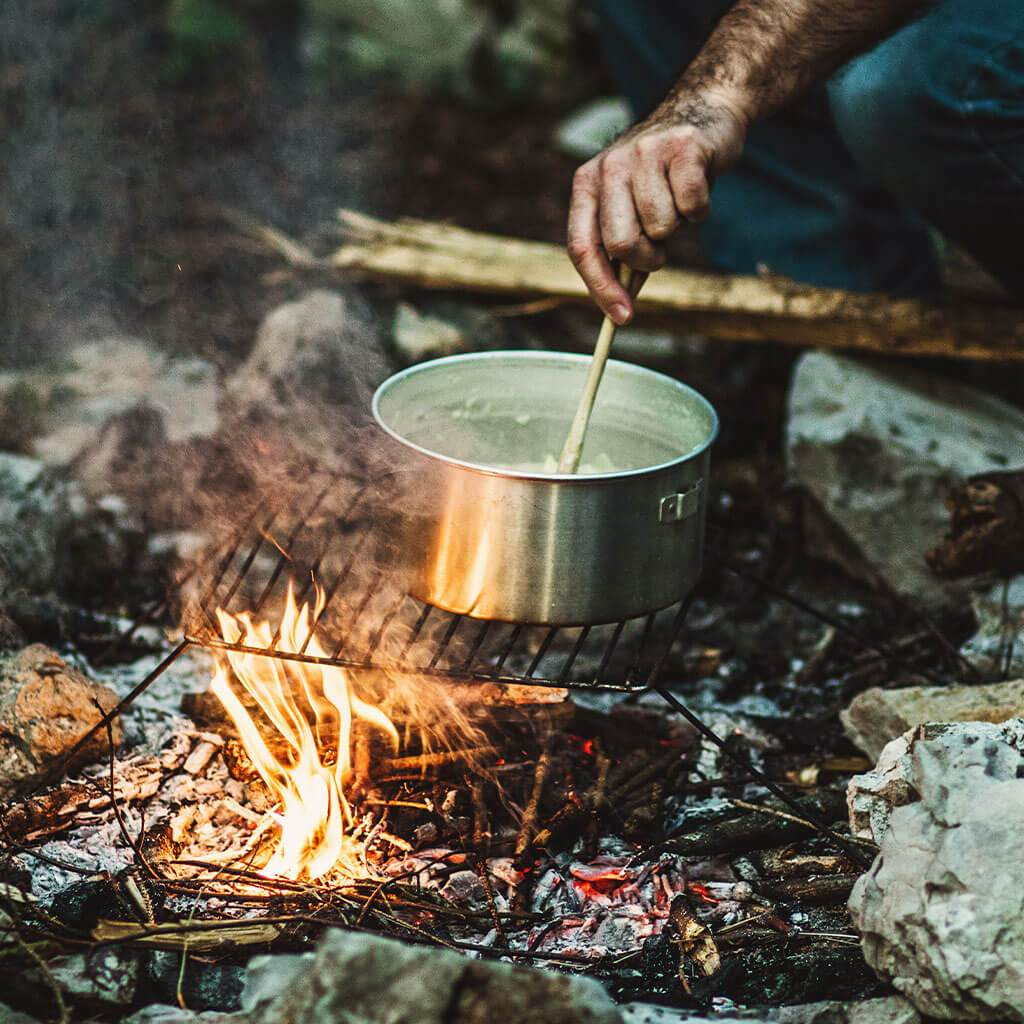
Whether you’re striking out from the trailhead for an overnighter or a months-long thru-hike, be sure you’ve got some Mountain House in your pack for quick-cooking, nutritious deliciousness to keep you fueled up!


 Emergency Prep & Survival
 Emergency Prep & Survival
 Emergency Prep & Survival
 Emergency Prep & Survival
 Emergency Prep & Survival
 Emergency Prep & Survival
 Emergency Prep & Survival
 Emergency Prep & Survival
 Emergency Prep & Survival
 Emergency Prep & Survival
 Emergency Prep & Survival
 Emergency Prep & Survival
 Emergency Prep & Survival
 Emergency Prep & Survival
 Emergency Prep & Survival
 Emergency Prep & Survival


 Emergency Prep & Survival
 Emergency Prep & Survival
 Emergency Prep & Survival


 Emergency Prep & Survival


 Emergency Prep & Survival


 Emergency Prep & Survival
 Emergency Prep & Survival
 Emergency Prep & Survival


 Emergency Prep & Survival
 Emergency Prep & Survival


 Emergency Prep & Survival
 Emergency Prep & Survival


 Emergency Prep & Survival
 Emergency Prep & Survival


 Emergency Prep & Survival


 Emergency Prep & Survival


 Emergency Prep & Survival


 Emergency Prep & Survival